Русский
 English (US)
 Ukrainian
 Eesti
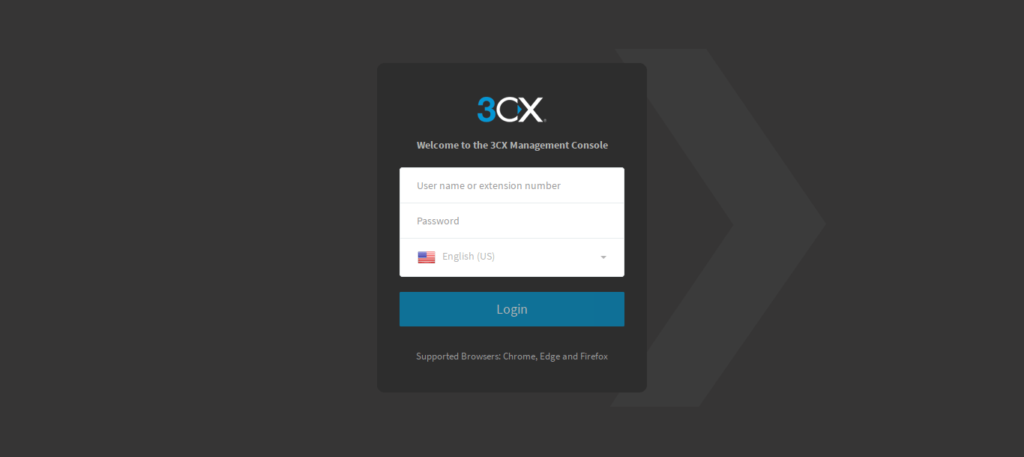
EestiLog in to the 3CX PBX WEB interface as an administrator
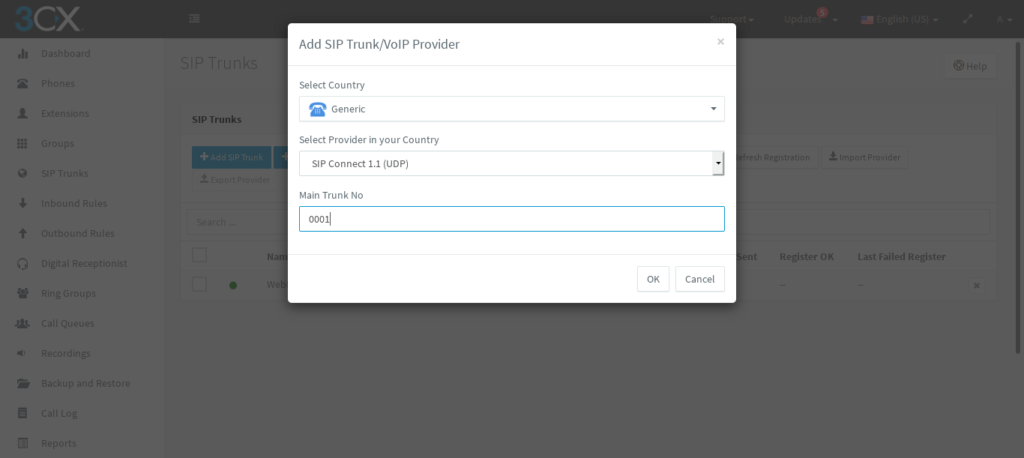
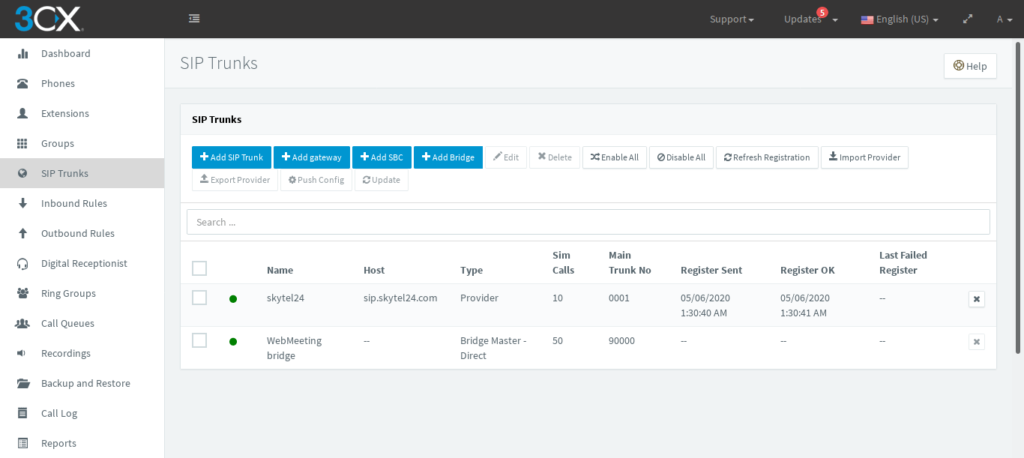
Go to menu SIP Trunks
And click Add SIP trunk button
SIP trunk settings
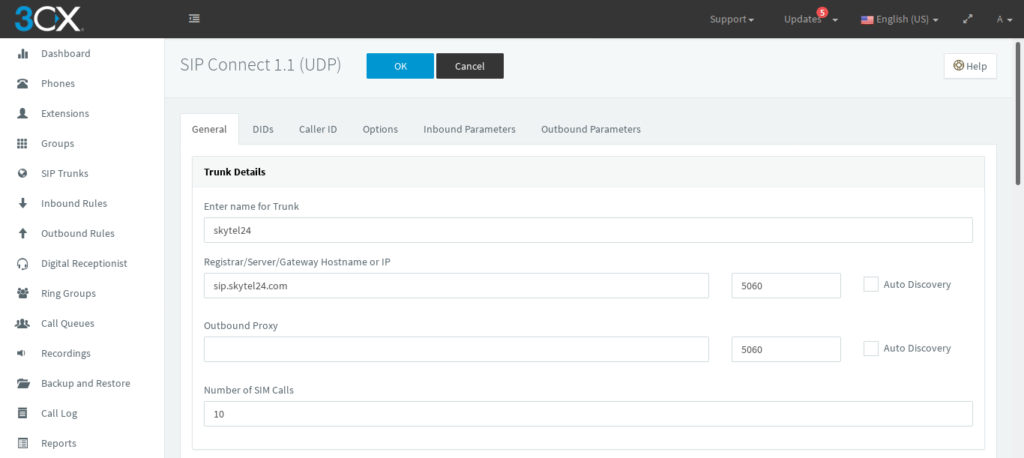
On the same page, just below…
Enter the username and password obtained during registration
Authentication -> Authentication ID (aka SIP User ID): USERNAME
Authentication -> Authentication Password: PASSWORD
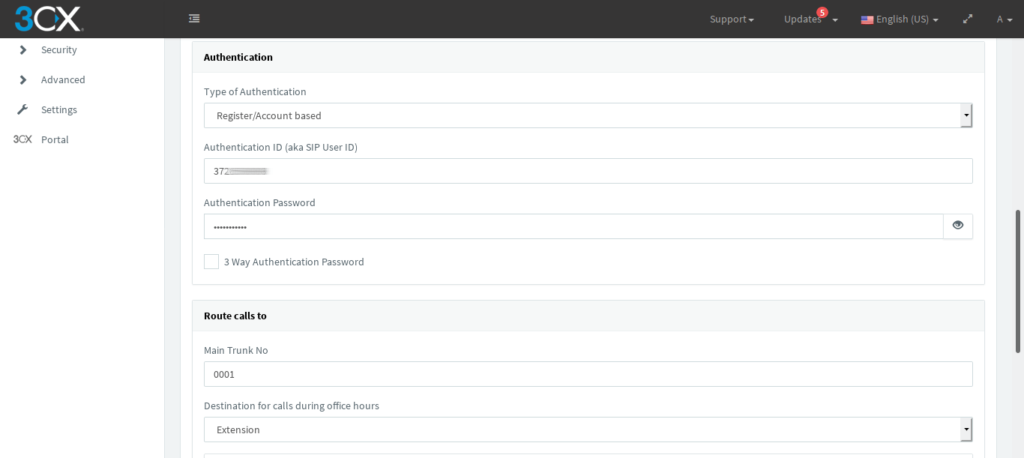
Add default caller ID
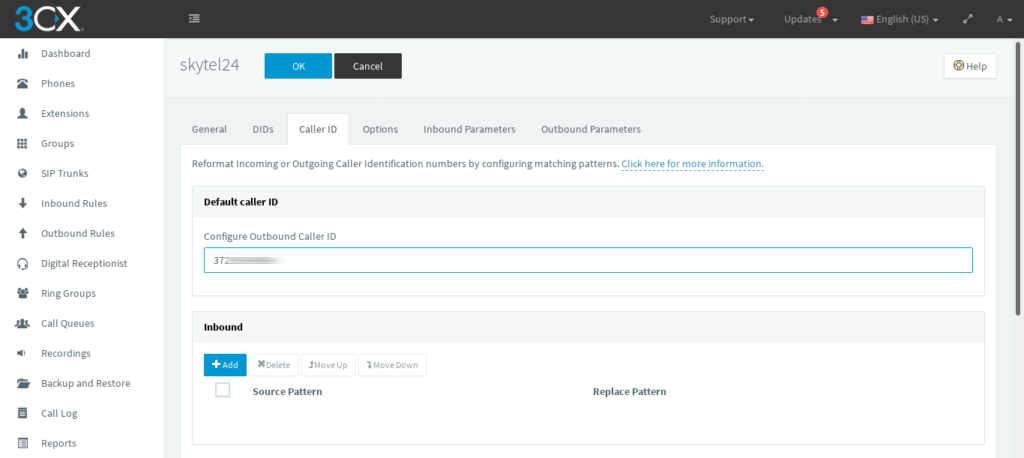
Enter OK and reload the page to verify that the trunk is registered.
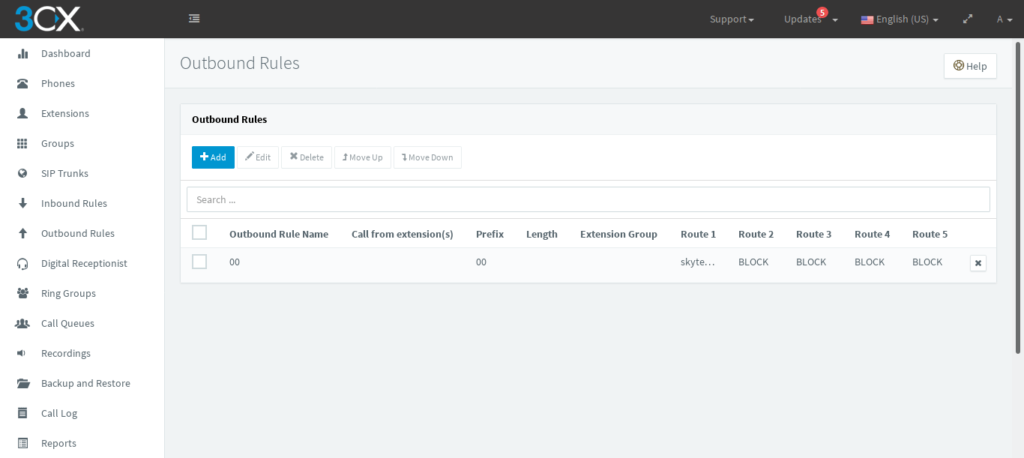
Add Outbound Rule:
Outbound Rule -> Add
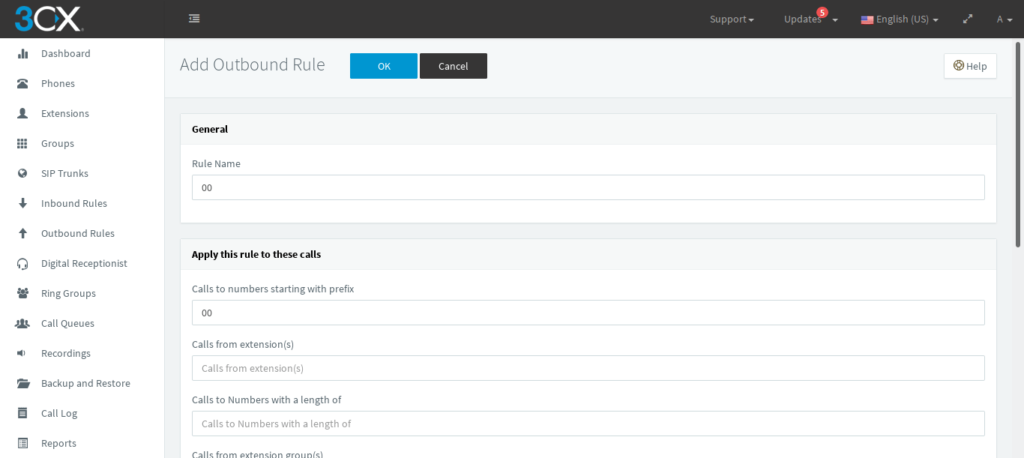
On the same page, just below…
Make outbound calls on
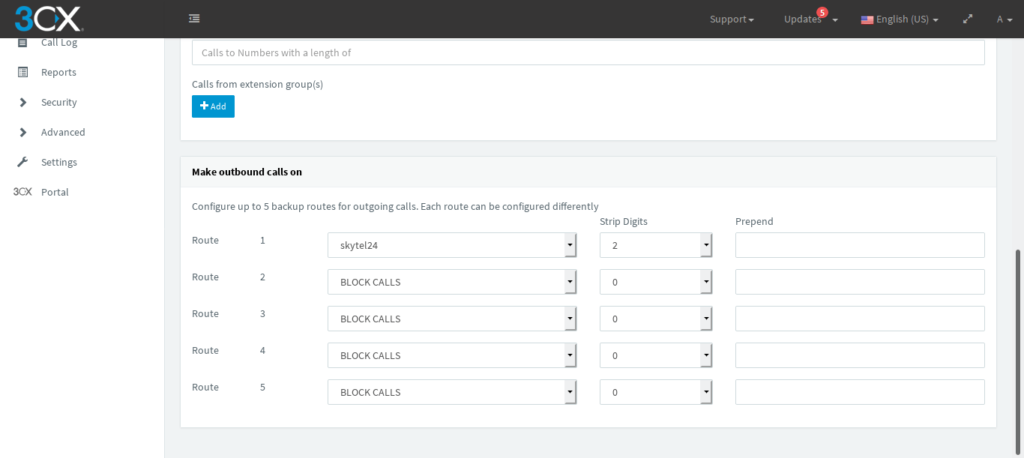
Outbound Rules successfully added
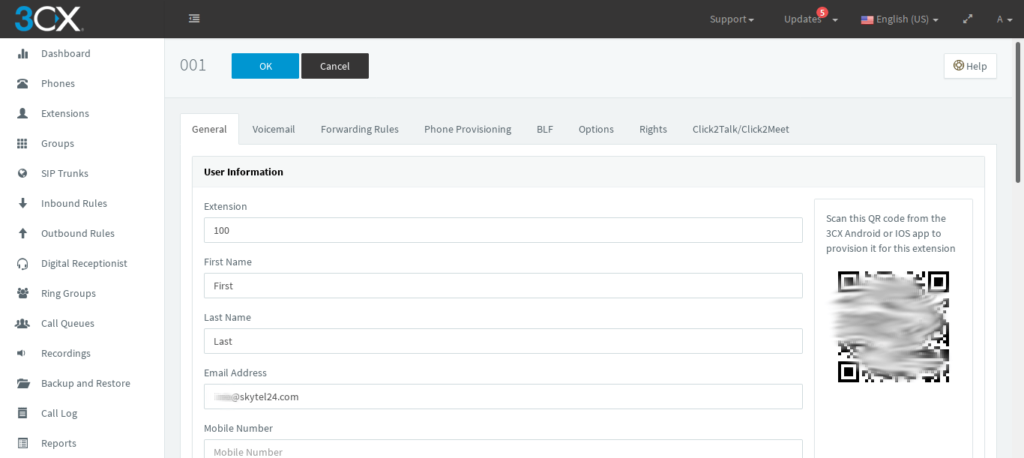
Add New Extensions
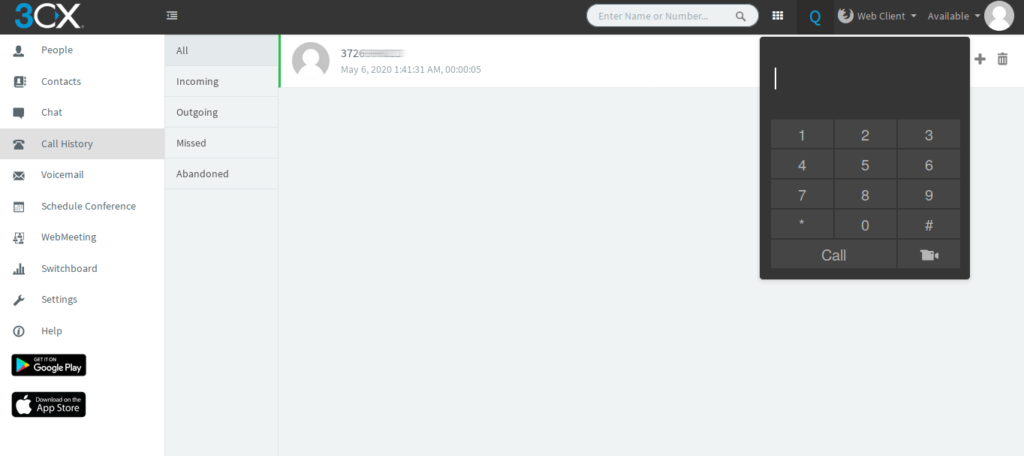
Next, you can enter the WEB phone at https://3CX-IP:5001/webclient
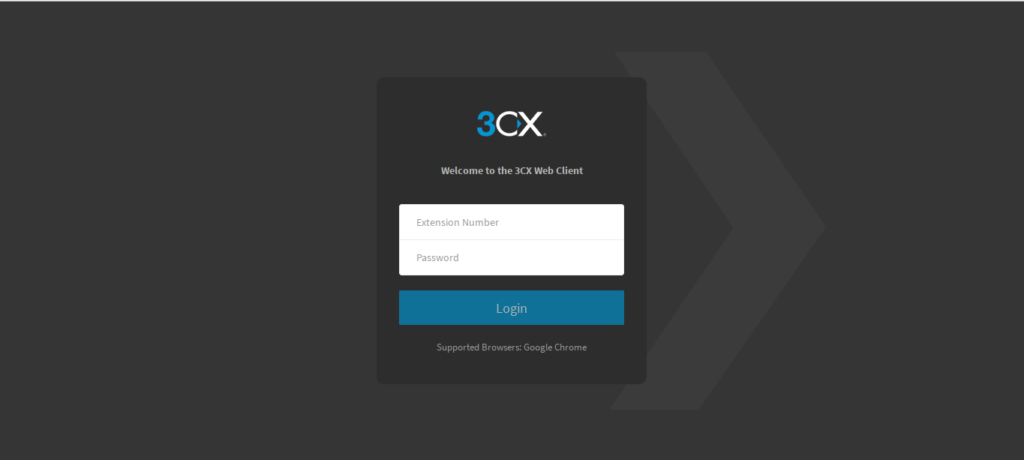
And dial the number with the prefix 00